Using a Custom Domain
Napkin Pro subscribers can use any custom domain they own for their Napkin endpoints. Once you have a custom domain set up, Napkin will automatically take care of HTTPS and will manage renewal of your SSL certificates.
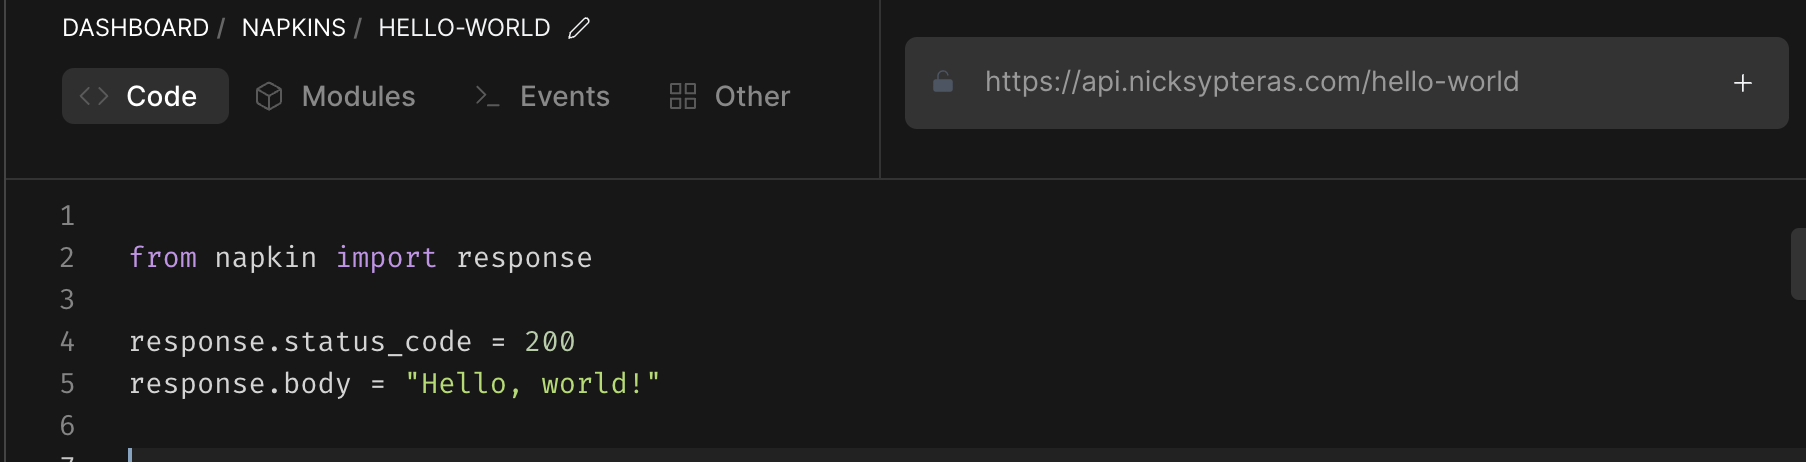
For this guide, I'll configure my Napkin workspace to use the api subdomain of my personal blog, nicksypteras.com. Once everything's set
up, my editor UI will show api.nicksypteras.com instead of the default [workspace].npkn.net domain and all my endpoints will be reachable from my new subdomain.
Setting this up takes only two quick steps.
Set your custom domain in the Napkin UI
Visit the settings page for your Workspace and navigate to the Custom Domain tab. Enter the custom domain you'd like to use and click "Set Custom Domain".
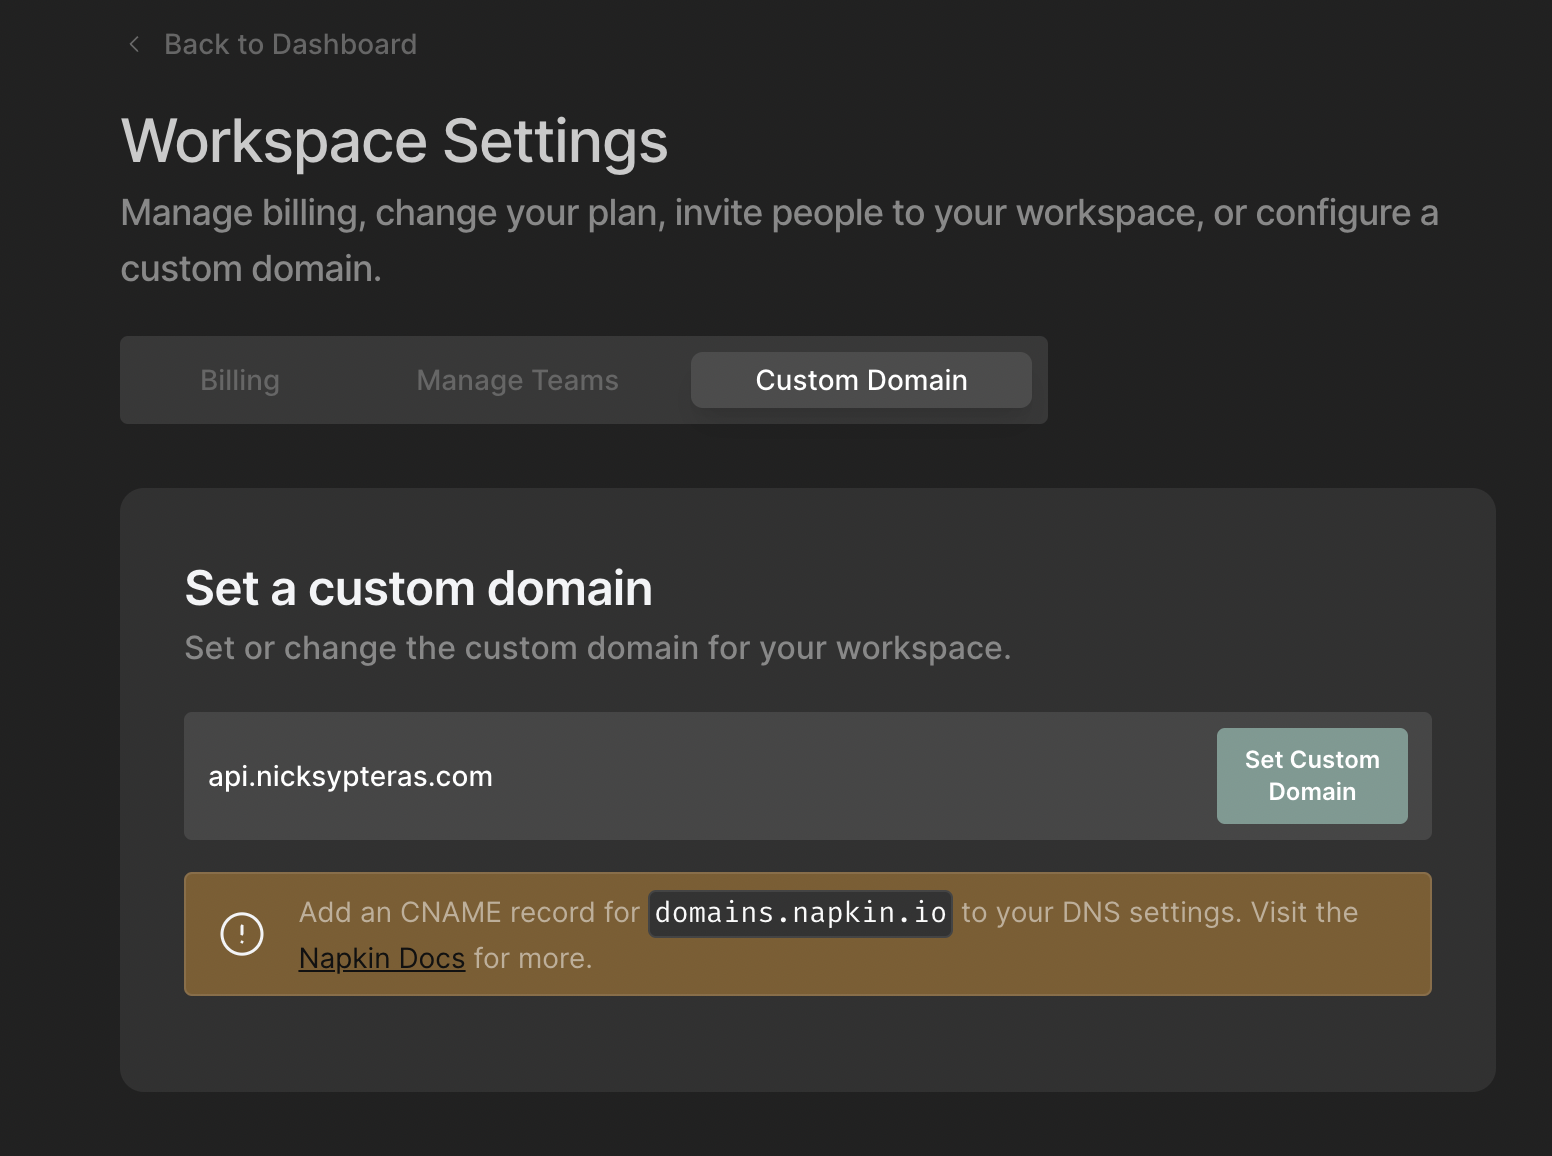
Add A CNAME Record To Your DNS Settings
Next add the following CNAME record to your DNS settings (feel free to use whatever TTL you want). If you're using a DNS provider like Cloudflare that offers proxying, make sure the proxy is disabled for this entry.

Wait for your DNS settings to propogate (how long this takes dependes on a number of factors, and
can take anywhere from minutes to 48 hours). You can check if your DNS update has propogated with a tool like digwebinterface.
Once your CNAME record has propogated, you'll be able to reach all your functions using your custom domain rather than the default [workspace].npkn.net domain.

HTTPS
Once your custom domain is set up, HTTPS just works. Napkin will default all your endpoint connections to HTTPS and will manage requesting and renewing your domains SSL certificates for you.